Hello Folks....
Here we are going to create our AWS Account step by step.
Step 1 : Visit the official Amazon Web Services(AWS) home page.
Step 2 : Click on "Create a Free Account" .
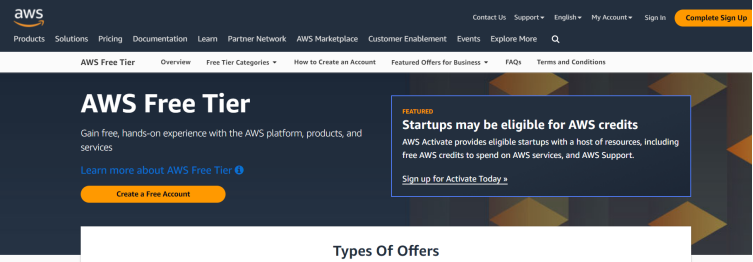
A sign up page will appear as shown
It will ask you to confirm the details once again.

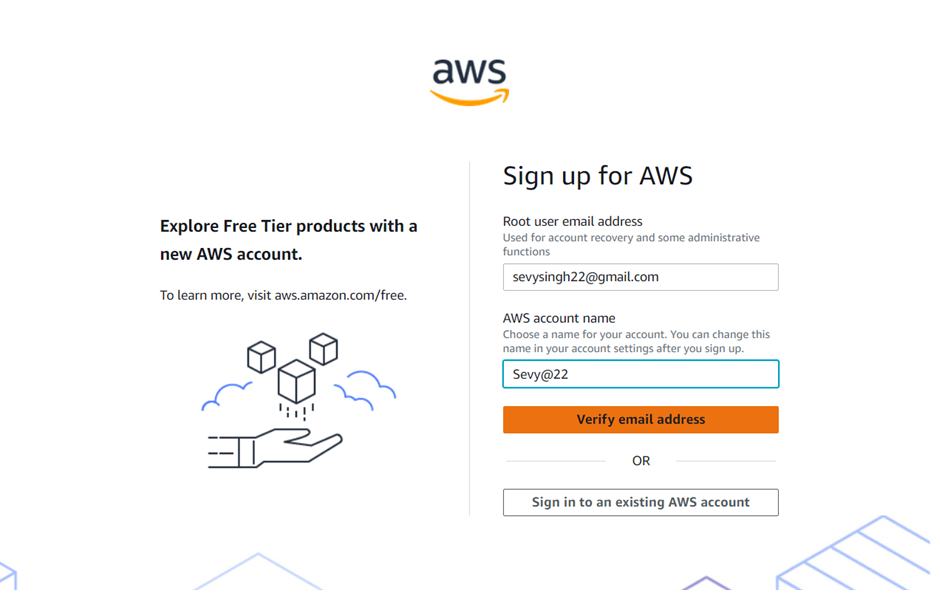
Step 3 (i): Enter Email address.
Step 3 (ii): Enter Password.
Step 3 (iii): Enter Confirm password.
Step 3 (iv): Enter AWS account name.
Step 3 (v): Click on "Continue".
A page will appear to complete contact information.

Step 4 : Correctly fill your contact information as per required and click on "Continue".
Step 5 : Enter the OTP sent to your contact number for verification.

Step 6 : Ensure you have been verified successfully. Click on "Continue" to proceed.

A new page will appear asking about Billing Information.
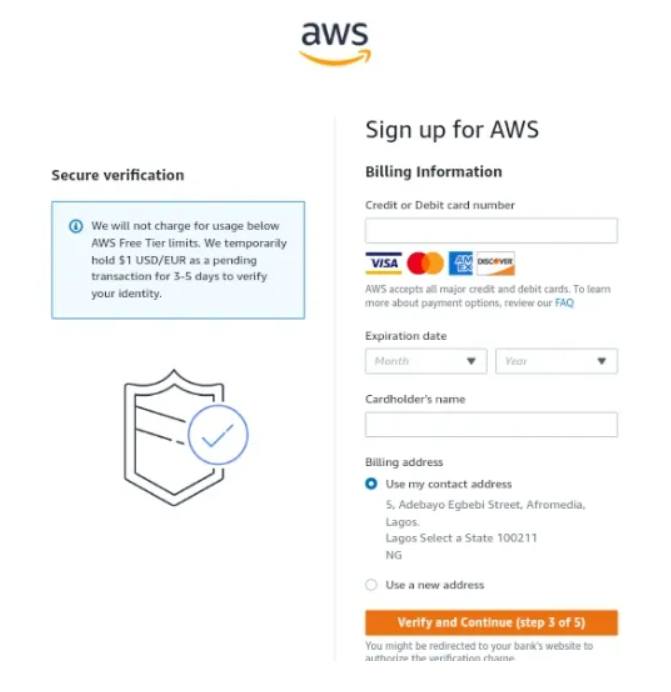
Step 7 : Correctly fill your credential details and click on "Continue".
Step 8 : It will later ask you to authenticate the transaction using OTP sent to your registered mobile number for payment. Enter the correct OTP and click on next.

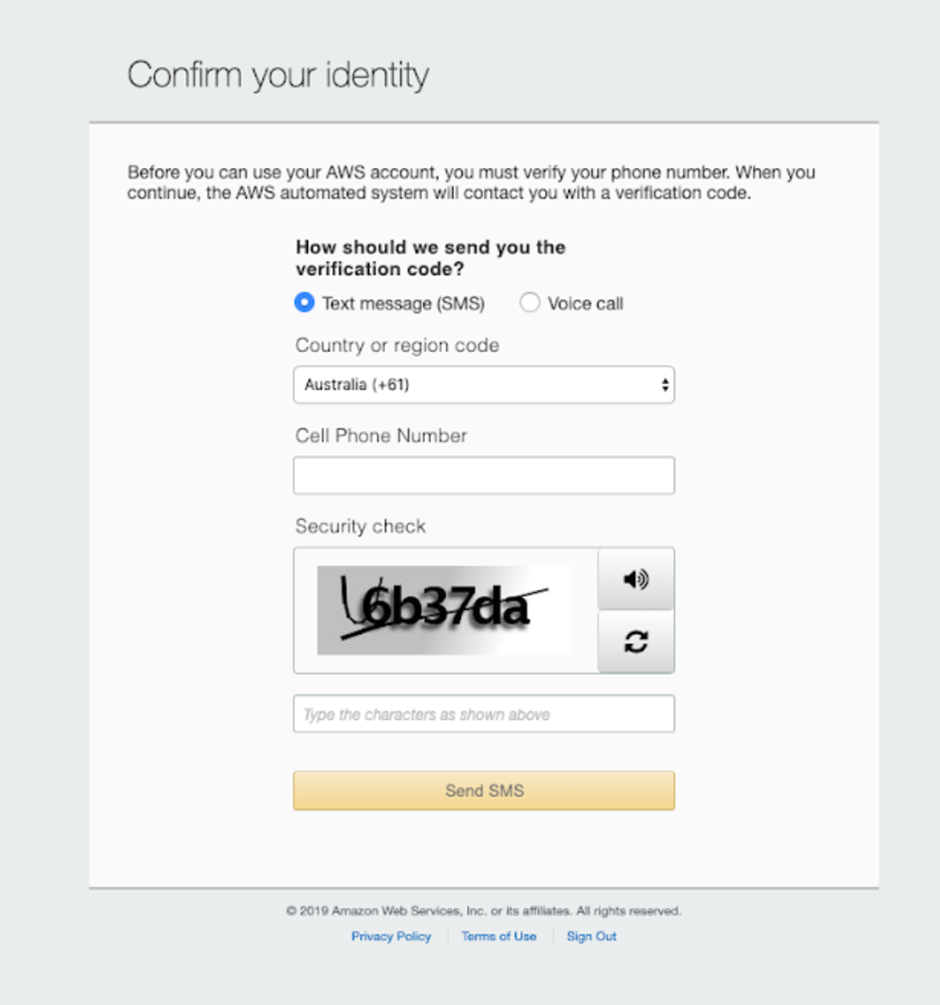
Step 9: The next it will be asking you to confirm your identity. Fill the given fields with correct data.
Step 10 : Once done successfully, choose your support plan as per desired.
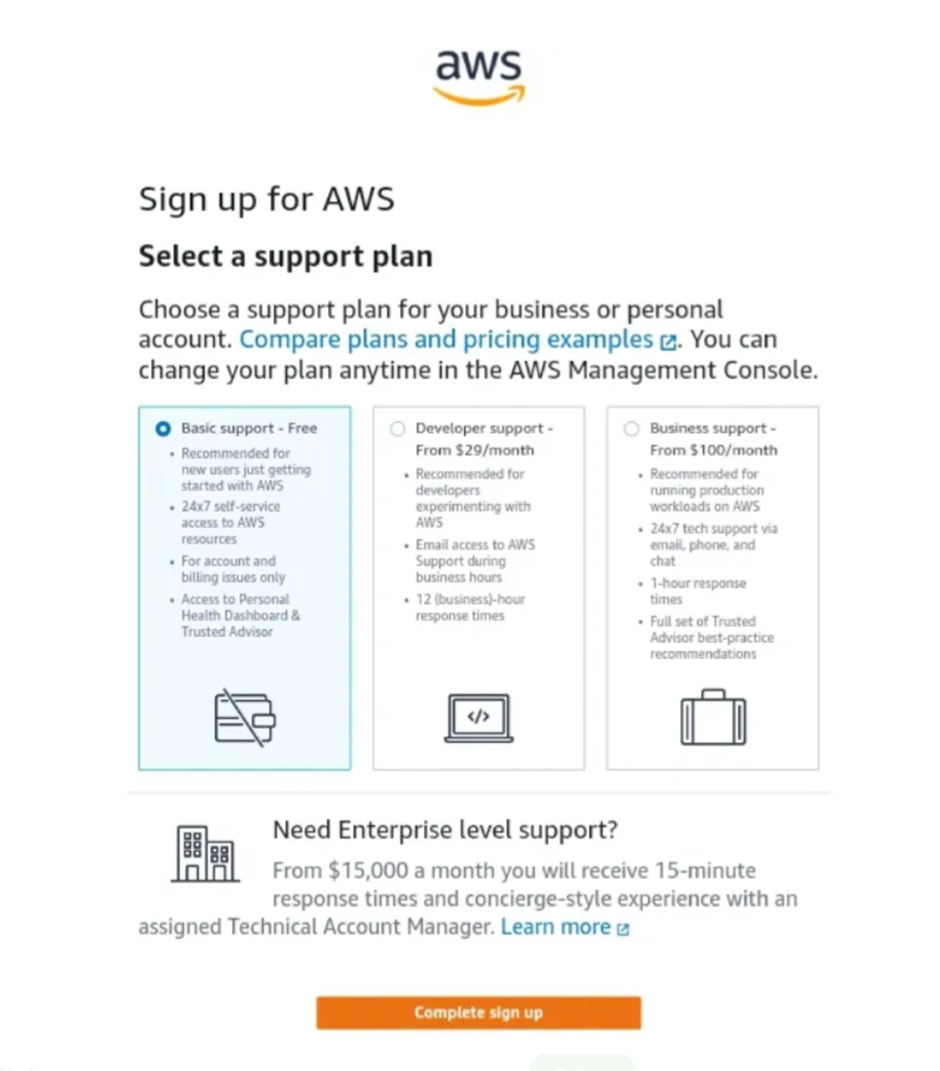
Step 11 : Click on "Complete sign up".
This will take you the window showing "Congratulations" and hence account created successfully.
Note: There can be more another ways to sign up, it depends. But the steps are likely to be same.
So here we have created our AWS account. Next we will be learning the services offered by AWS Cloud Computing.
Thank You, Folks.😊............